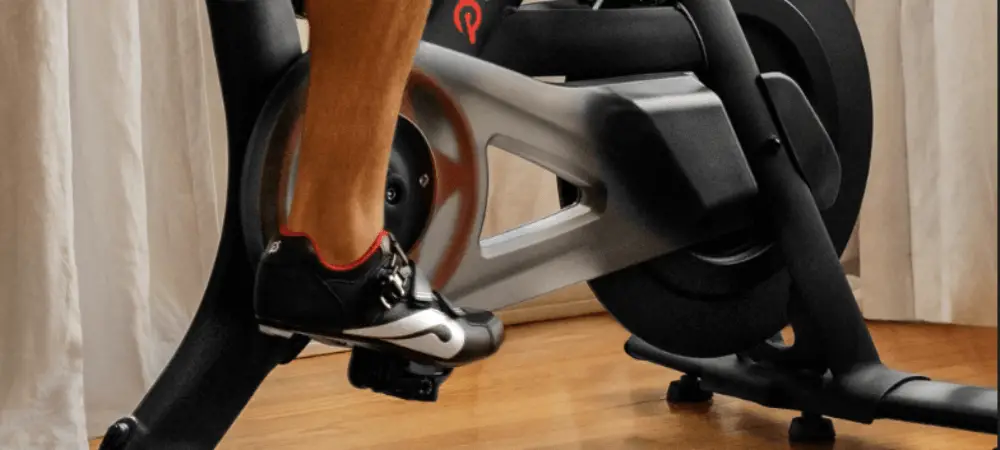
Peloton revolutionized the home fitness industry with its super-advanced and developed equipment. It’s packed with high-tech gadgets that measure your cadence, applied power, speed, pulse, calories burned and much more.
However, like with any fancy tech stuff, problems sometimes happen with the software or hardware. Many Peloton users who own Peloton bikes claim to have issues with their cadence metric. It either stops working or isn’t working properly, and this surely causes a certain degree of frustration.
We understand how broken Peloton metrics can affect your cycling workout. This article is written to help you understand the problem and provide a comprehensive step-by-step guide to fixing Peloton cadence.
How to Fix when Peloton Cadence Not Working
Experiencing issues with your Peloton cadence not working can be frustrating, especially if it disrupts your workout routine. But don’t worry; most problems are solvable with some troubleshooting.
Step 1: Basic Checks and Resets
Begin with the basics. Ensure your Peloton bike is properly plugged in, not having loose connection and receiving power. Sometimes, a simple reset can fix many minor technical issues. You can unplug your power cord, wait for a few minutes, and then plug it back in. Before unplugging your Peloton, use the power button to shut it down. The power button is located on your Peloton tablet.
If simple reset didn’t help, you can consider doing a factory reset to your Peloton. Factory reset will delete all your settings, but nothing will be lost that comes to leaderboard rankings, achievements within Peloton and so on.
Step 2: Software Updates
Ensuring your Peloton is running the latest software version is also crucial. Outdated software can cause all sorts of bugs, including issues with cadence reading. To check for updates, go to the settings on your Peloton screen and find the option for system updates.
Step 3: Check Peloton Cadence Sensor
If the problem persists, it’s time to check the cadence sensor. The sensor is usually located near the flywheel of your Peloton bike. It needs to be properly secured and free from any obstructions or debris. Any issues here could result in your Peloton cadence not working correctly.

Why Is My Peloton Cadence Not Working?
Cadence, in cycling terms, measures how quickly your feet are spinning the pedals. On the original Peloton bike, your cadence is displayed in real-time, providing crucial feedback to help you follow along with your classes and gauge your performance. So, when your Peloton is not reading your cadence, it could significantly impact your workout.
There could be various reasons behind this issue, ranging from simple software glitches to hardware problems like sensor malfunctions or connectivity issues. Sometimes, incorrect usage or setup can also lead to such problems. If your Peloton cadence is not working, it typically manifests as either a missing cadence reading on your Peloton display or inconsistent and incorrect cadence readings that don’t match your actual pedaling rate.
How Do I Monitor My Cadence and Make Sure It’s Getting an Accurate Reading?
Your Peloton bike should automatically track and display your cadence during workouts. However, it’s worth performing occasional manual checks and adjustments to ensure accurate readings.
Step 1: Perform a Manual Check
The first step is to manually count your pedal strokes for one minute and compare this with the cadence displayed on your Peloton. A significant discrepancy might indicate a problem with your sensor.
Step 2: Adjust Cadence on Peloton
If you find consistent inaccuracies, you may need to adjust the cadence settings on your Peloton. You can do this through the device settings. Still, it would help if you also referred to your user manual or Peloton’s online resources for precise instructions.
Step 3: Peloton Calibration kit
Sometimes all you need to do is to calibrate your Peloton cadence sensor. Calibration kit can be received from Peloton support team.
Why Calibration Matters:
At the heart of the Peloton experience are the sensors that measure resistance, speed, distance, heart rate, and more metrics. Calibration ensures that these metrics are aligned with your actual effort, providing a true reflection of your performance. Imagine cycling at a moderate pace, feeling the burn, but the screen displays an unexpectedly lower resistance level – that’s where calibration comes into play.
The Calibration Process:
Using a calibration kit is simpler. Begin by setting up your Peloton bike or treadmill on a level surface in a comfortable space. The kit often comes with the equipment or can be purchased separately. Once you’re ready, follow these general steps:
- Baseline Setting: Zero out or reset the sensors using the option available on the display. This establishes a starting point for accurate measurements.
- Match Effort: Begin your workout at a comfortable yet moderate pace. This could mean pedaling at a certain speed or jogging steadily.
- Monitor Metrics: Monitor the metrics displayed on the screen, such as resistance level or speed. Mentally note how your effort aligns with these numbers.
- Comparison and Adjustment: Compare the displayed metrics with your perceived effort. Consult your calibration kit’s manual for guidance if they don’t match. Adjustments might involve minor tweaks to the sensors.
- Repeat and Maintain: After making adjustments, test the calibration by repeating the workout. Regularly revisit the calibration process to ensure ongoing accuracy. Over time, sensors can shift slightly, affecting the alignment.
The Advantages of Accurate Calibration:
- Precise Tracking: Accurate sensor calibration provides a true representation of your efforts. This precision is essential for tracking progress and setting achievable fitness milestones.
- Personalization: Everyone’s fitness level, stride, and pace are unique. Calibration lets you personalize the equipment to match your capabilities and preferences.
- Effective Workouts: Reliable metrics lead to more effective workouts. You can better gauge your performance, push your limits, and make tangible improvements.
- Goal Attainment: With accurate metrics, setting and attaining fitness goals becomes more attainable. You can measure and celebrate your achievements by increasing your speed, endurance, or resistance level.
- Motivation Boost: Seeing your hard work accurately reflected in the numbers can be a powerful motivator. It’s like having a dedicated workout partner who recognizes your efforts.
- Consistency: Regular calibration ensures that your workouts remain consistent. You won’t experience sudden shifts in difficulty due to inaccurate readings.
- Confidence: Trusting that your equipment provides reliable data builds confidence in your workouts. You can fully immerse yourself in the exercise, knowing your progress is accurately measured.
Advanced Troubleshooting Steps
If you’ve followed the initial steps and your Peloton cadence is still not working, it’s time for advanced troubleshooting. This could involve closely inspecting the cadence sensor for hardware issues, checking the bike’s wiring, or even considering professional repair or replacement.
Preventing Future Cadence Issues
Avoiding future cadence problems involves regular maintenance and updating your Peloton’s software whenever updates are available. Additionally, please make it a habit to perform regular manual cadence checks to ensure accuracy.

Conclusion: Peloton Cadence Not Working – A Solvable Problem
While encountering issues like your Peloton cadence not working can be an unwelcome interruption to your fitness journey, it’s usually something you can resolve with some troubleshooting. With the practical steps in this guide, you’re well-equipped to diagnose and fix the problem.
However, if issues persist after following these steps, feel free to contact Peloton’s customer support. They can provide additional assistance and, if necessary, arrange for professional repair or replacement. The Peloton support can be contacted via Peloton website.
In the end, maintaining your Peloton and performing regular checks can go a long way in ensuring smooth and effective workouts. By keeping your Peloton in good working order, you can focus on what’s most important – achieving your fitness goals. With your cadence problem hopefully resolved, it’s time to get back in the saddle and ride on!
Frequently Asked Questions (FAQ):
What is Peloton Cadence?
Cadence is a key metric in cycling workouts. It refers to the rate at which a cyclist pedals, measured in revolutions per minute (RPM).
Why is Cadence Important?
Maintaining an appropriate cadence during workouts can help you achieve your fitness goals more effectively. It allows you to manage your exertion levels and get the most out of each ride. Cadence data is sent to your Peloton app in real-time.
How do I change the battery in my RPM Cadence?
Suppose your cadence sensor is battery-powered and you need to replace the battery. In that case, you’ll typically need to unscrew the back cover of the sensor. However, the exact process can vary depending on your Peloton model, so refer to your user manual or contact Peloton support team for specific instructions.
How long does the cadence battery last?
The battery in a cadence sensor can last anywhere from six months to a year, depending on usage.
Why my Peloton doesn’t have resistance knob?
Many newer Peloton bike models feature digital resistance control. Instead of manually turning a knob to adjust the resistance level, you can use the touchscreen display to select the desired resistance level. This provides more accurate and consistent resistance settings.

